

Problem
How to prepare a dashboard in Jira?
Step by step instructions
How to create a dashboard in Jira Cloud
1. Dashboards can be found on the top navigation bar in Jira:
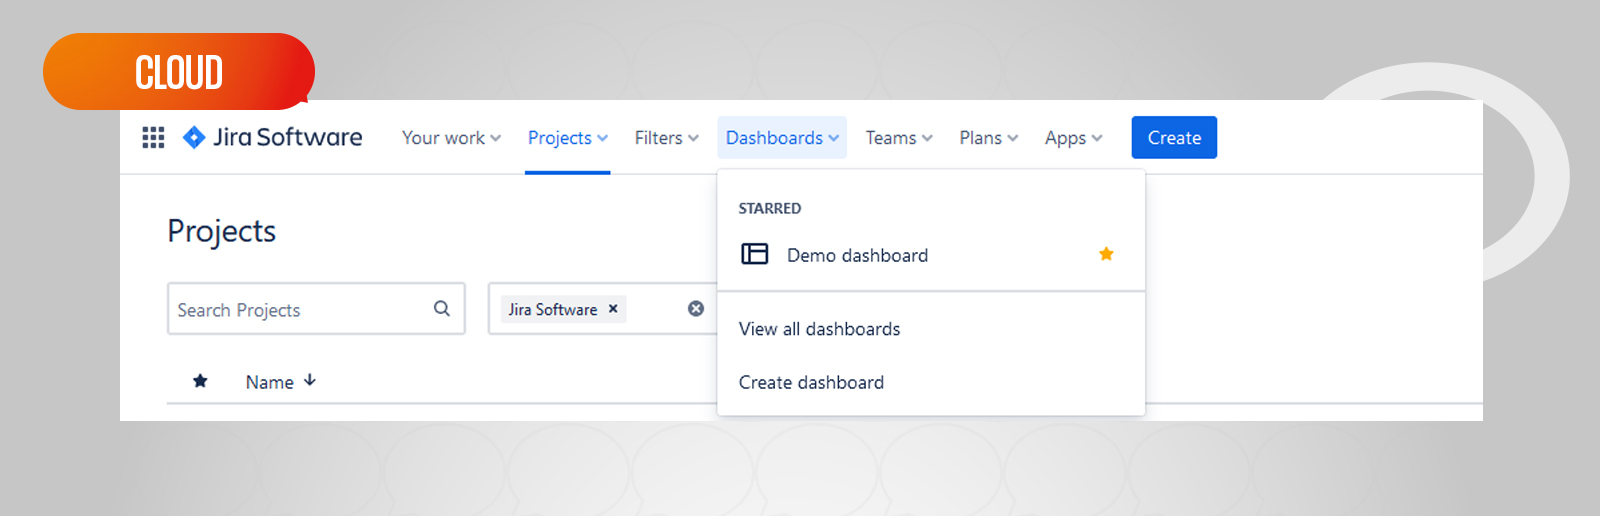
In this way, you can go to previously created dashboards or create a completely new one.
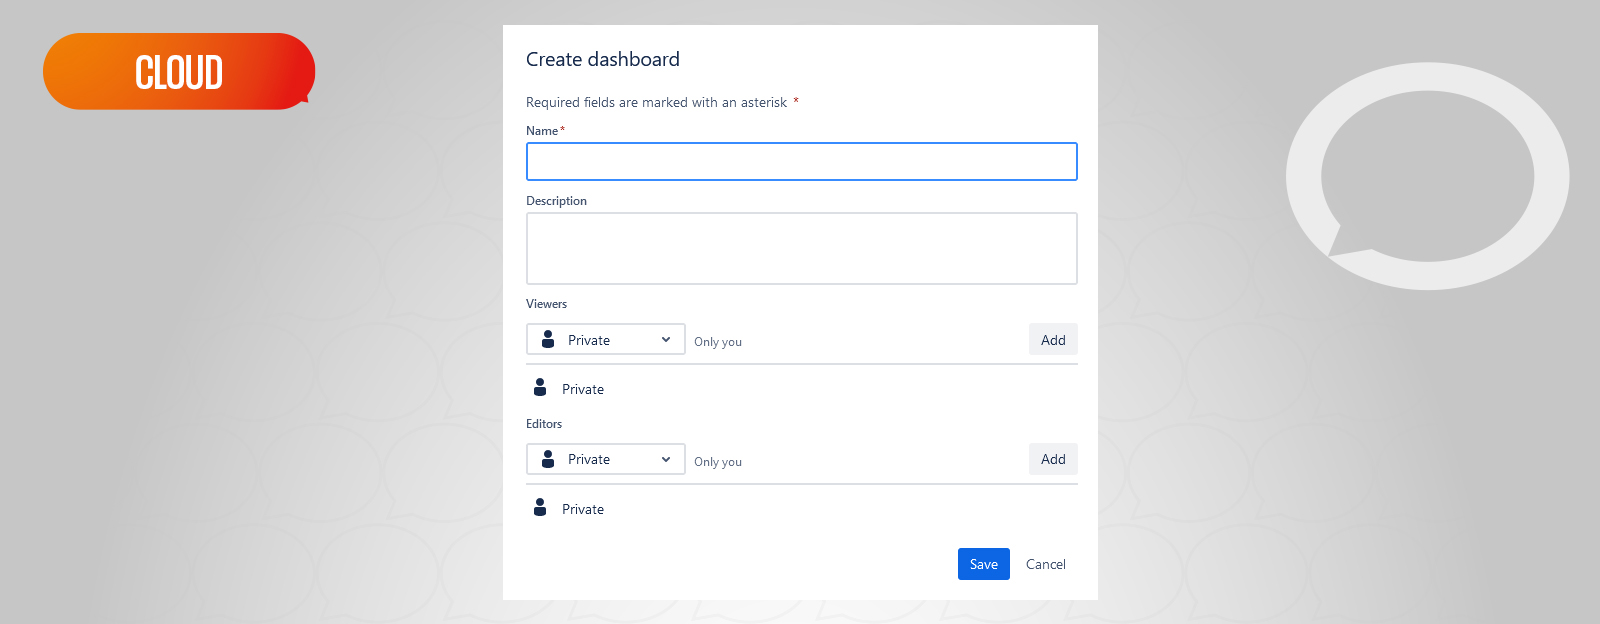
2. After selecting “Create Dashboard” you will see a window where you need to fill in information about the new dashboard – name, description, and decide who will see the dashboard and who will be able to make changes to it.
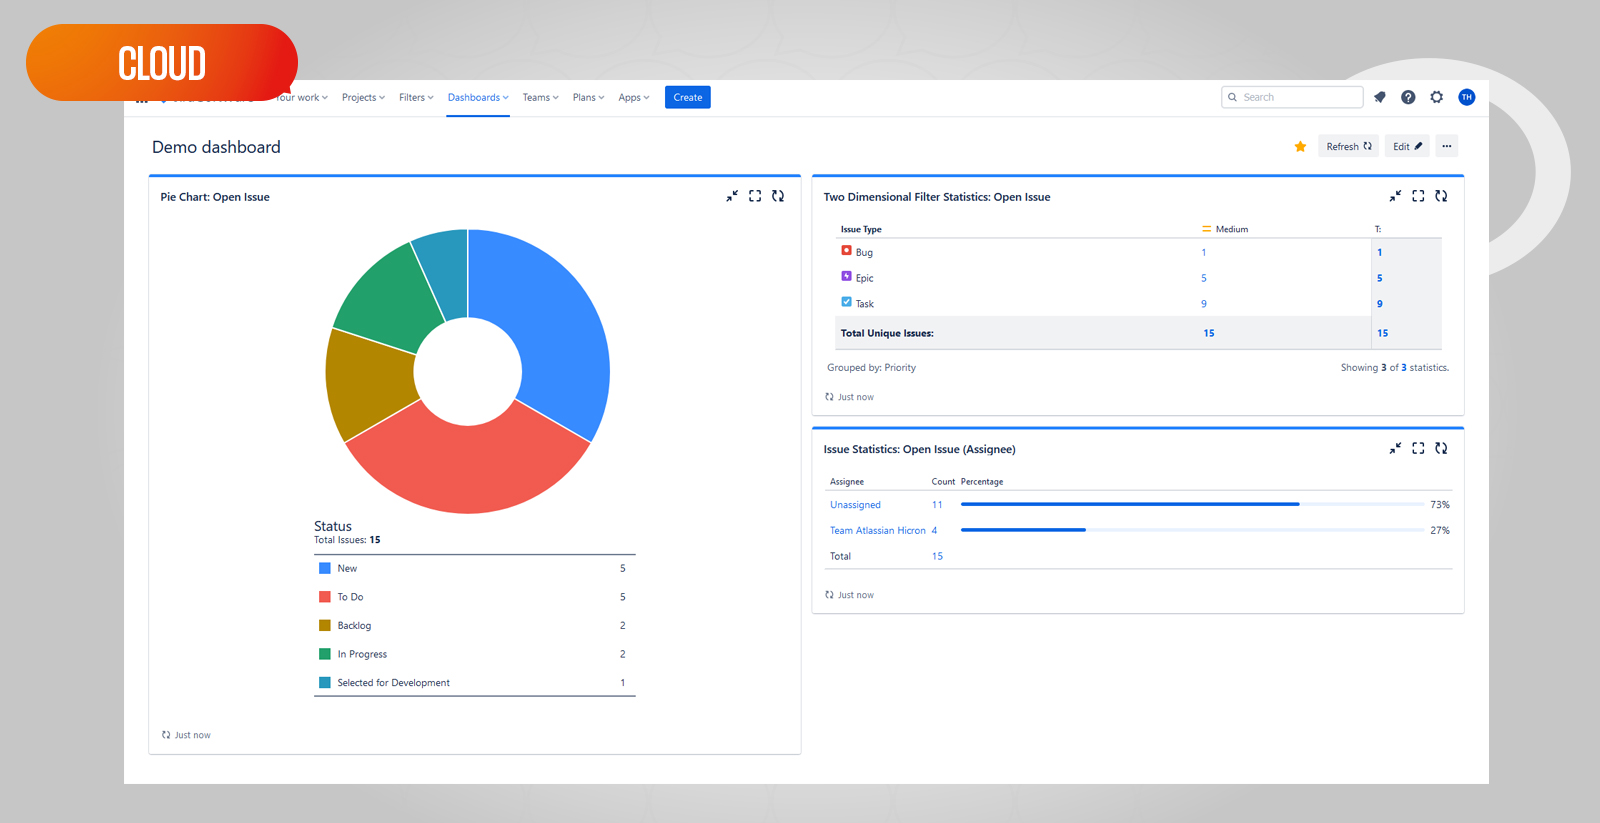
3. After saving the changes, you go to the dashboard editor. Dashboards show a visualization of the data you chose by selecting the gadgets visible on the right side of the view
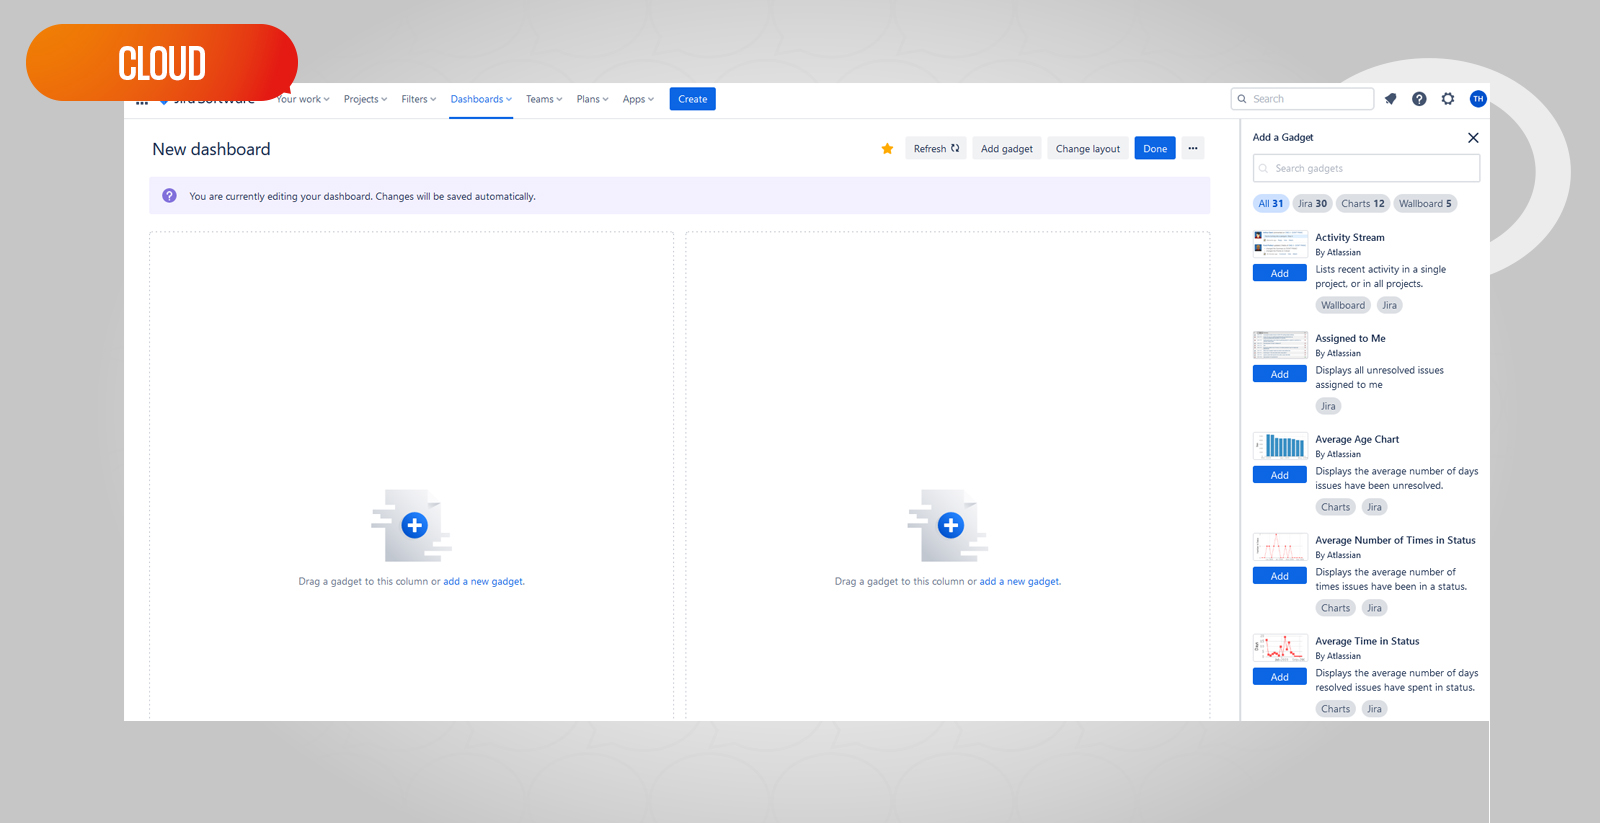
4. The list of available gadgets may vary depending on the system add-ons used in your organization. Gadgets can be moved using drag&drop or the “Add” button. Each gadget should also be configured to display the data you need.
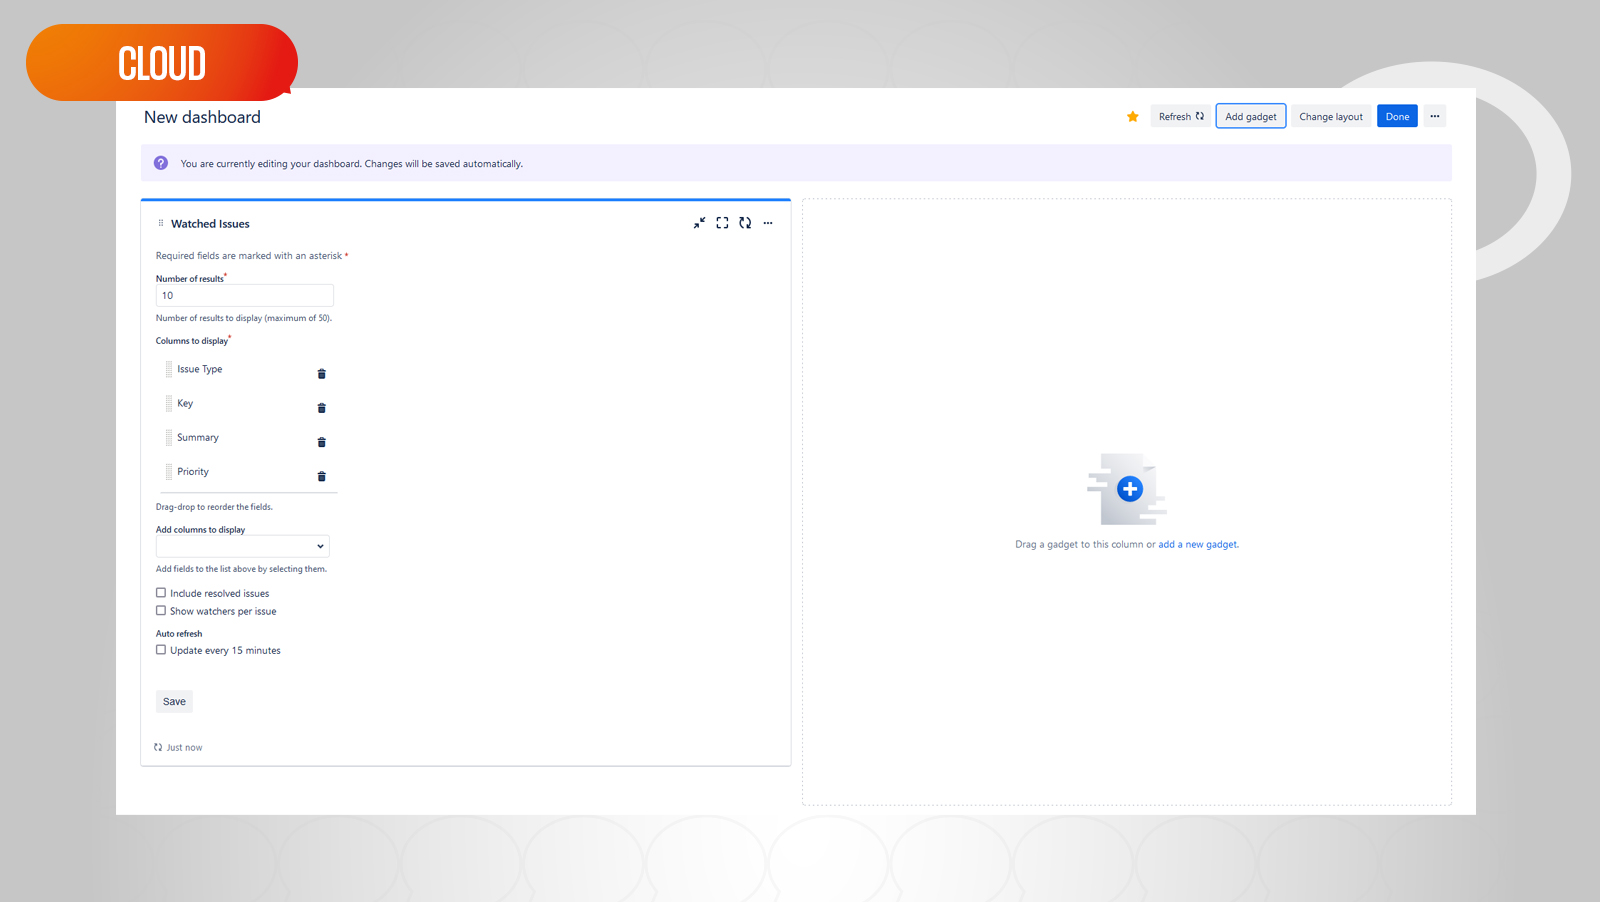
5. After you have configured and planned the entire dashboard, save your changes by clicking the “Done” button in the upper right corner.
How to create a dashboard in Jira On-Premises
1. Dashboards can be found on the top navigation bar in Jira:
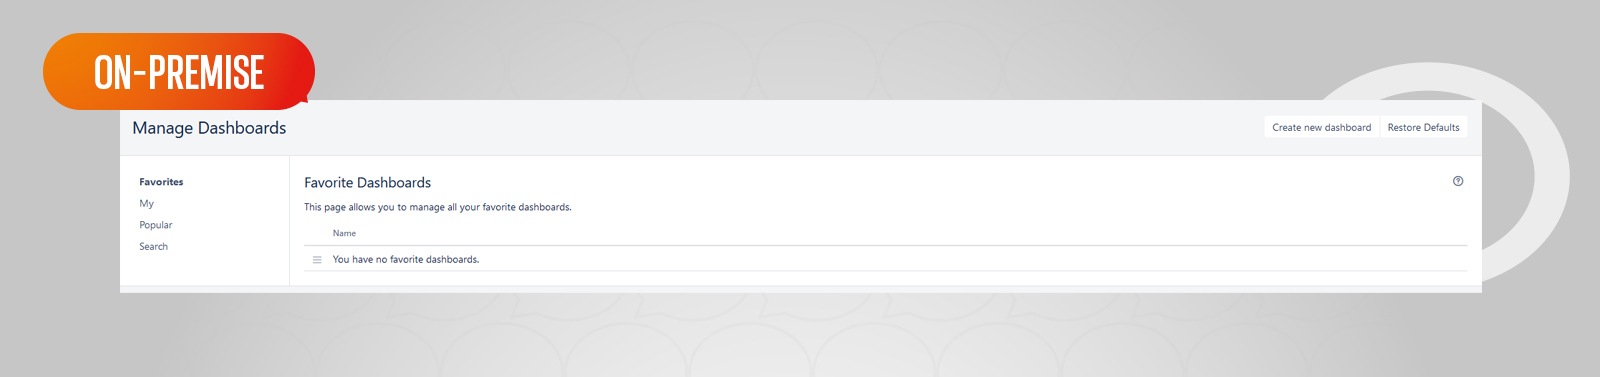
In this way, we can go to previously created dashboards, manage existing ones, or create a new one. Select “Dashboard Management”:

2. At the top right there is an option to create a new dashboard:
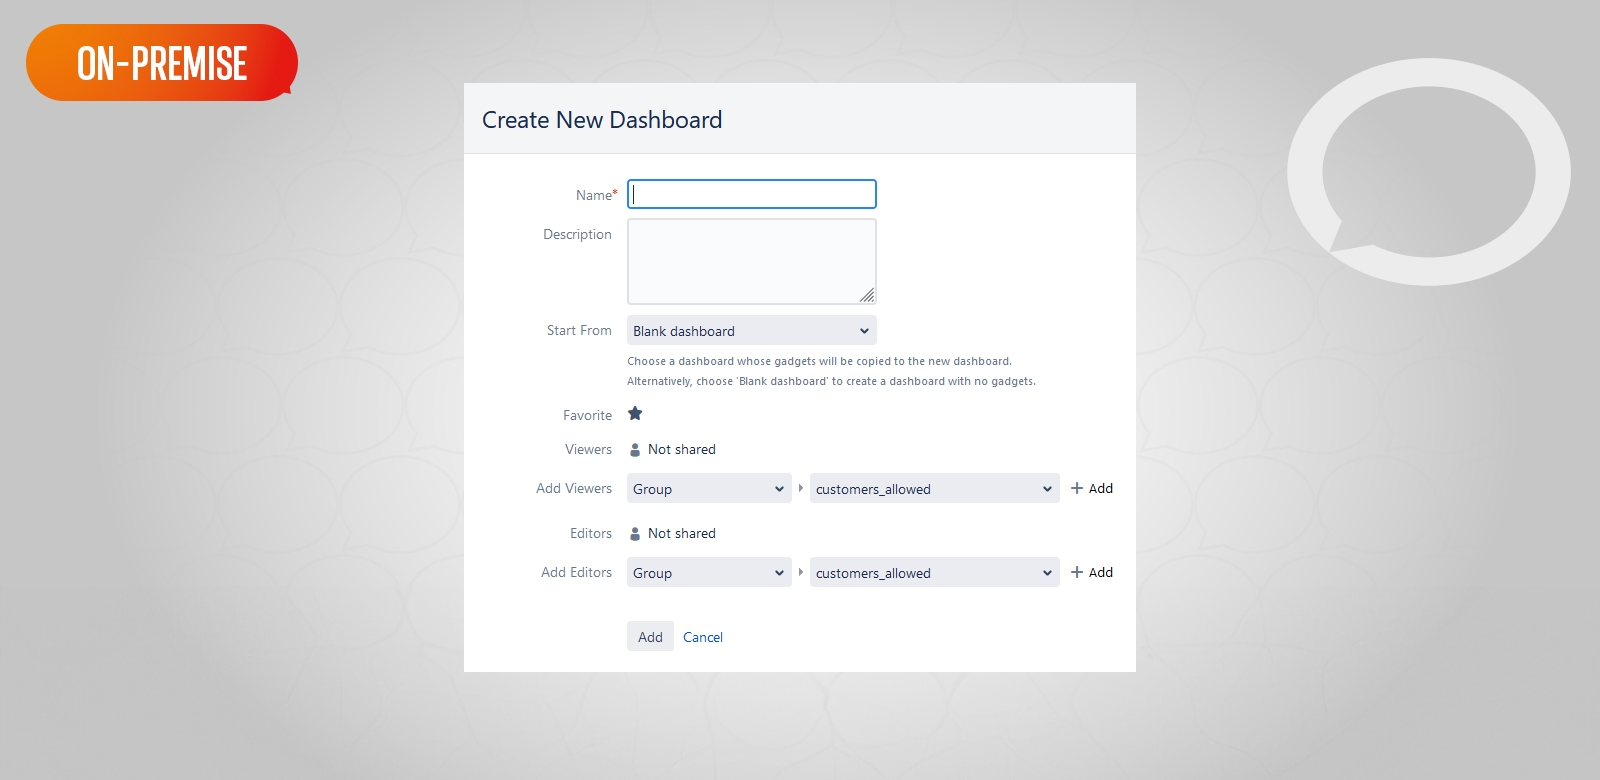
3. After selecting the “Create New Dashboard” option you will see a window where you need to fill in information about the new dashboard – name, description, and decide who will see the dashboard and who will be able to make changes to it.
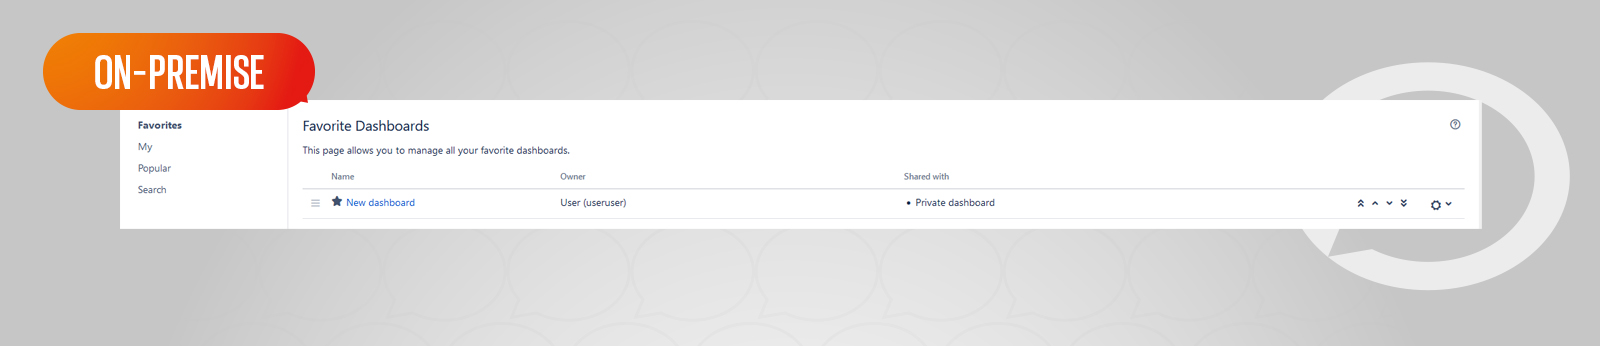
4. After creating a new dashboard, proceed to its configuration. In the main view, select the previously created dashboard:
5. In the dashboard editor you can add new gadgets using the “Add Gadget” option. The list of available gadgets may vary depending on the system add-ons used in your organization.
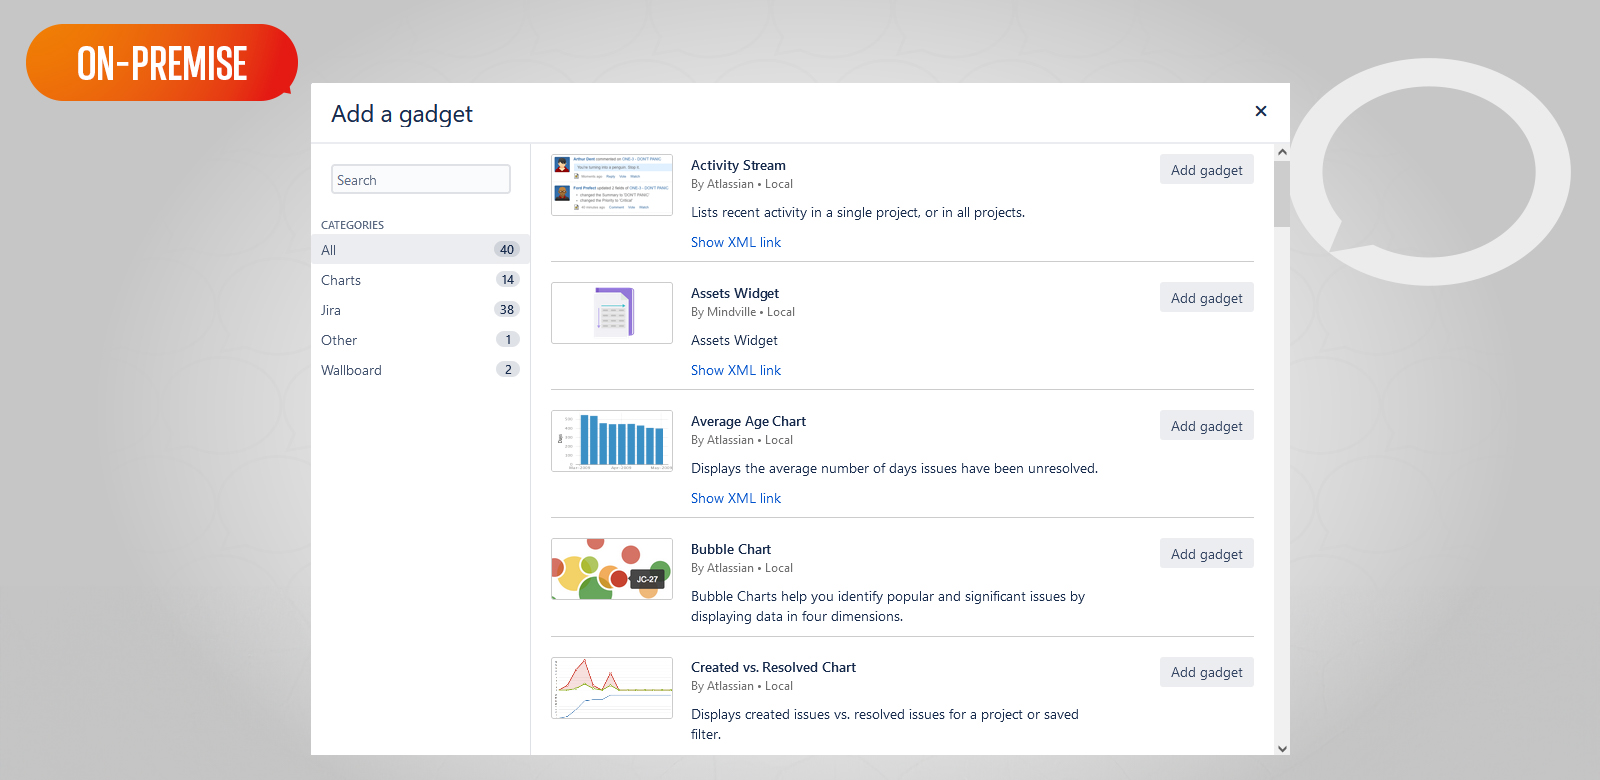
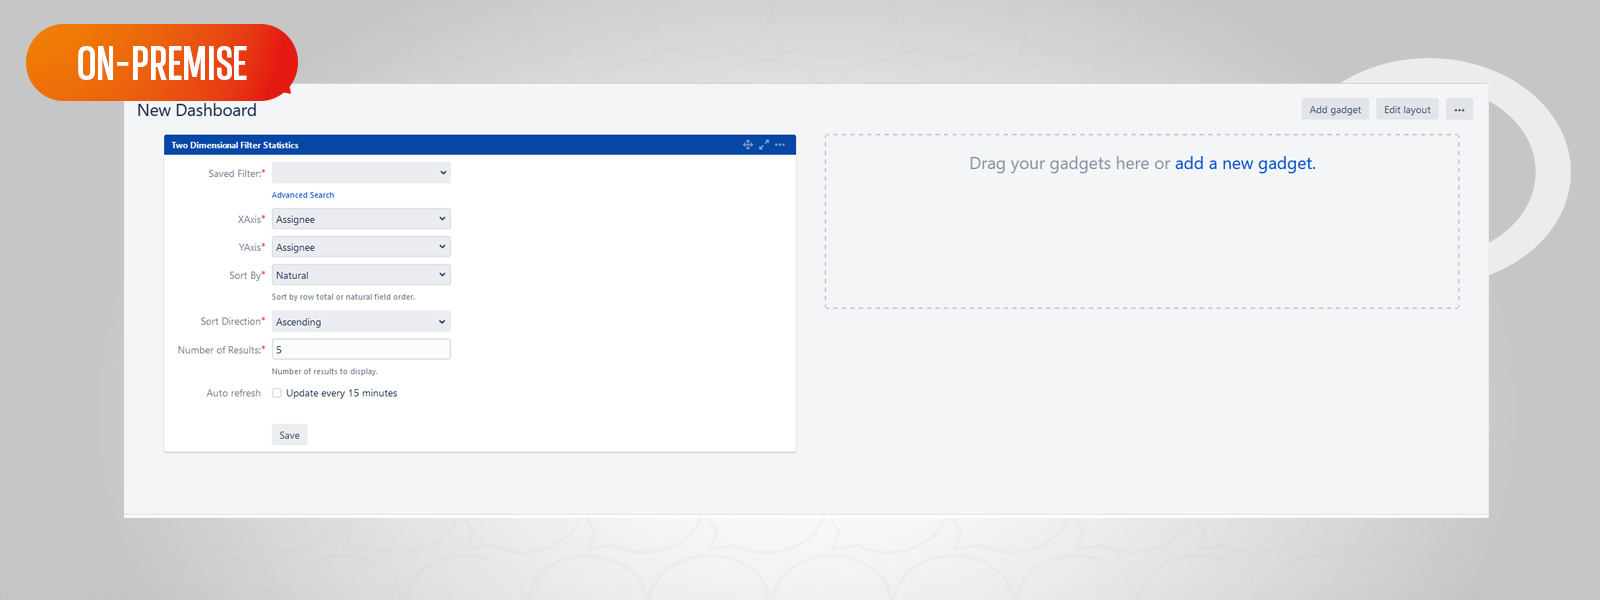
6. Each gadget should also be configured to display the data you need.
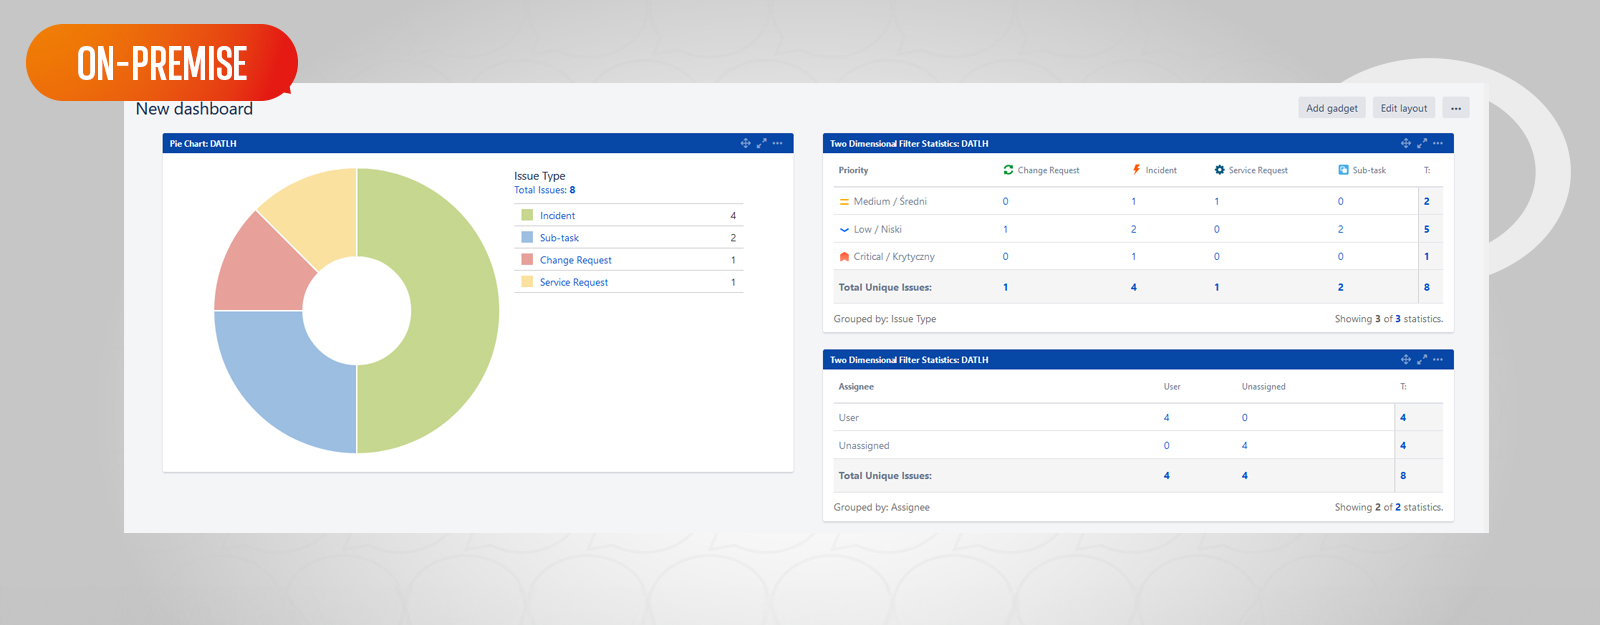
7. After saving each gadget, you get a configured dashboard in Jira.
We hope the above instructions were useful and showed you how to easily create and configure a dashboard in Jira according to your needs. This useful tool gives you a clear view of your data and allows you to keep track of project progress. Talk to our experts to learn about other system features that can help your team work more efficiently.